Sewing a button back on
A small repair with a useful sequence: inspect, match, stitch, and check.
A missing button is a small interruption with a very specific question: can the surrounding fabric still support the fastening? Before threading a needle, inspect the place where the button came away. If the cloth is torn or thinning, simply sewing into the same weak area may repeat the problem. Begin with an ordinary garment whose construction you understand, and leave valuable or fragile pieces for appropriate specialist advice. A successful small repair needs to close comfortably and remain secure, not merely look finished on the table.
Identify the button and its job
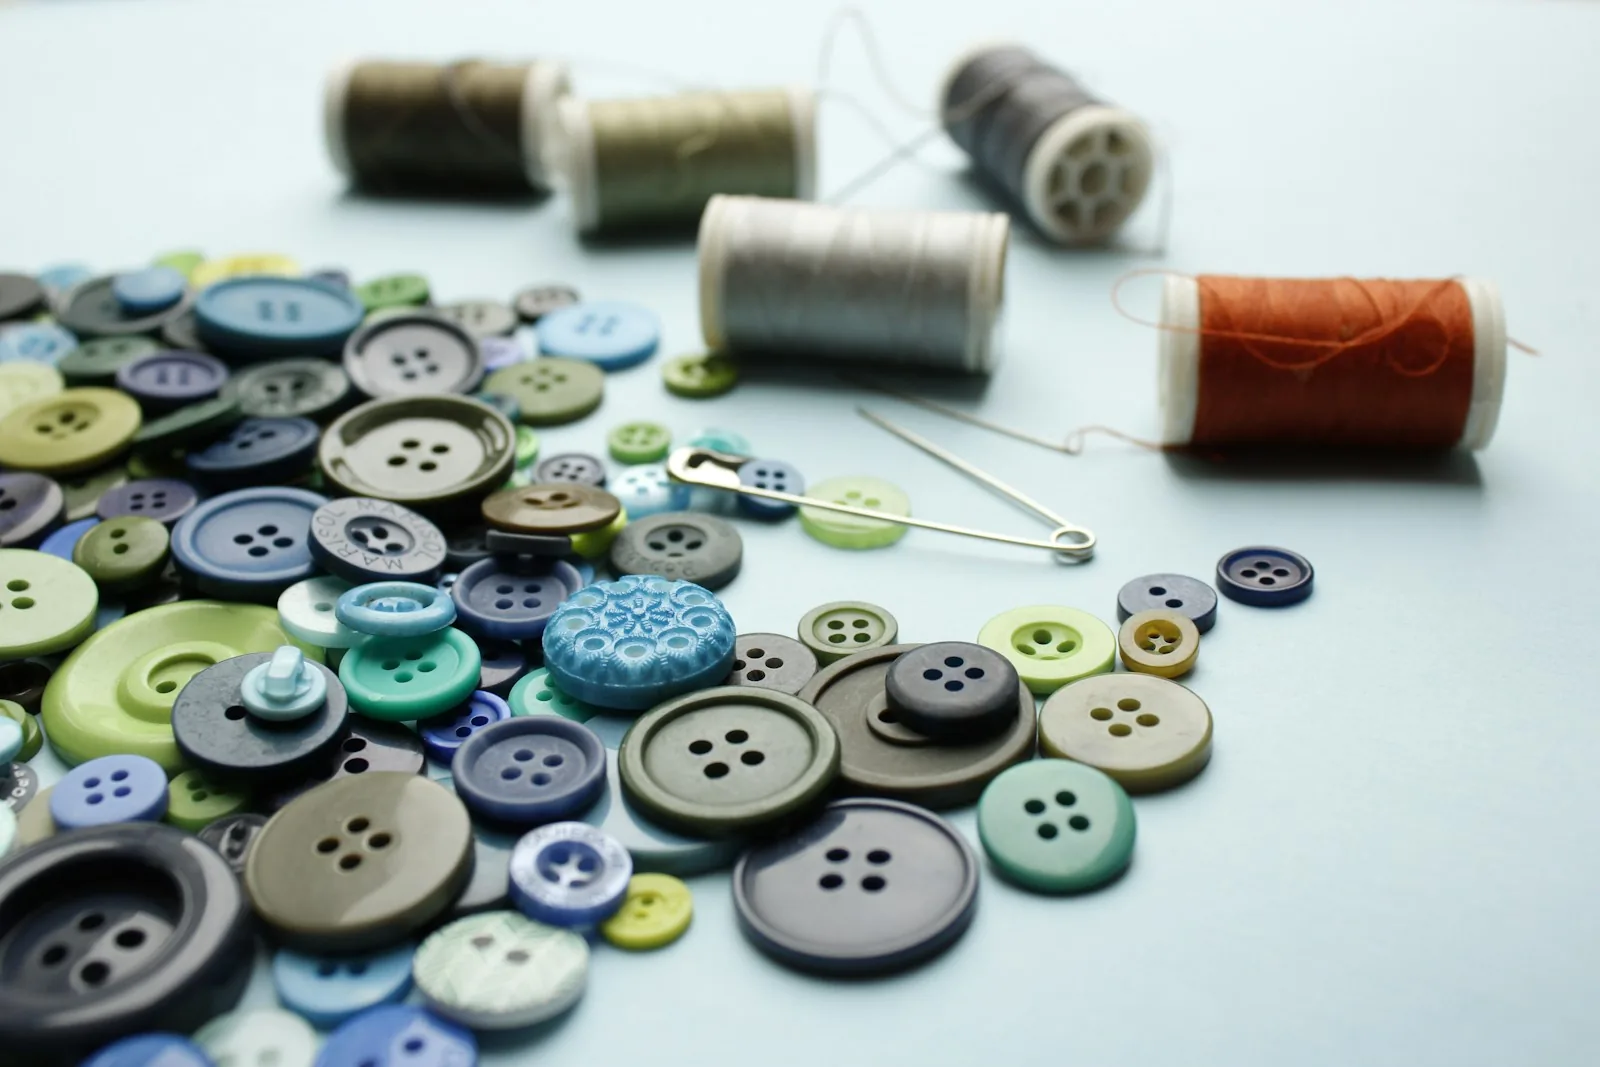
Compare the remaining buttons. A flat button has holes through its face, while a shank button has a loop or projection behind it. Their attachment methods differ, so do not treat them as interchangeable. Notice size, thickness, and the way the garment overlaps. A replacement must pass through the existing buttonhole and hold the layers as intended. A visually similar button can still be the wrong size for the job.
Look for the garment's spare button before buying one. If none exists, choose a replacement that works with the buttonhole and fabric. Replacing a whole visible set is an aesthetic option, not a requirement for every repair. Keep any sound old buttons labeled for future use. Do not remove a fastener that has a special structural or decorative role without understanding how it is attached.
Prepare the cloth and position
Work with the garment clean and dry, following its care instructions. Remove loose old thread carefully without cutting the fabric. Check the position against the corresponding buttonhole and neighboring fasteners. If an old mark is visible, confirm that it is correct rather than assuming the original position suited the wearer. A garment can have been altered or incorrectly repaired before reaching you.
The V&A Dundee's Sewing Box includes a button-repair resource alongside other small repairs. Consult that specific guide for the stitch sequence appropriate to your fastener. Practice on scrap cloth if needle handling is unfamiliar. The short overview here helps you prepare and evaluate the repair, but a diagram or demonstration can make the actual route of thread much clearer than a general description alone.
Match the tool to the material
Choose a hand needle that passes through both cloth and button holes without forcing. Use sound thread suitable for the garment, rather than a decorative fiber chosen only for color. Cut a manageable length so repeated movement does not become an awkward tangle. If the needle bends or the thread frays immediately, stop and reconsider the combination. Greater force is not a substitute for a suitable tool.
Keep scissors, needles, and pins in defined places while you work. A light-colored tray or cloth beneath the work can make a dropped item easier to see, provided it does not interfere with sewing. Count sharp tools when finishing and store them securely. A tiny repair is still a task involving sharp objects, particularly important in a shared home.
Leave room for the fastening to work
On a flat button, the cloth that passes beneath it needs enough space to move comfortably. Some garments use a thread shank to provide that clearance. Compare the remaining original fasteners and the relevant repair guide rather than pulling the new button flush against the fabric automatically. A fastening sewn too tightly may strain the buttonhole or be difficult to use even when it feels secure.
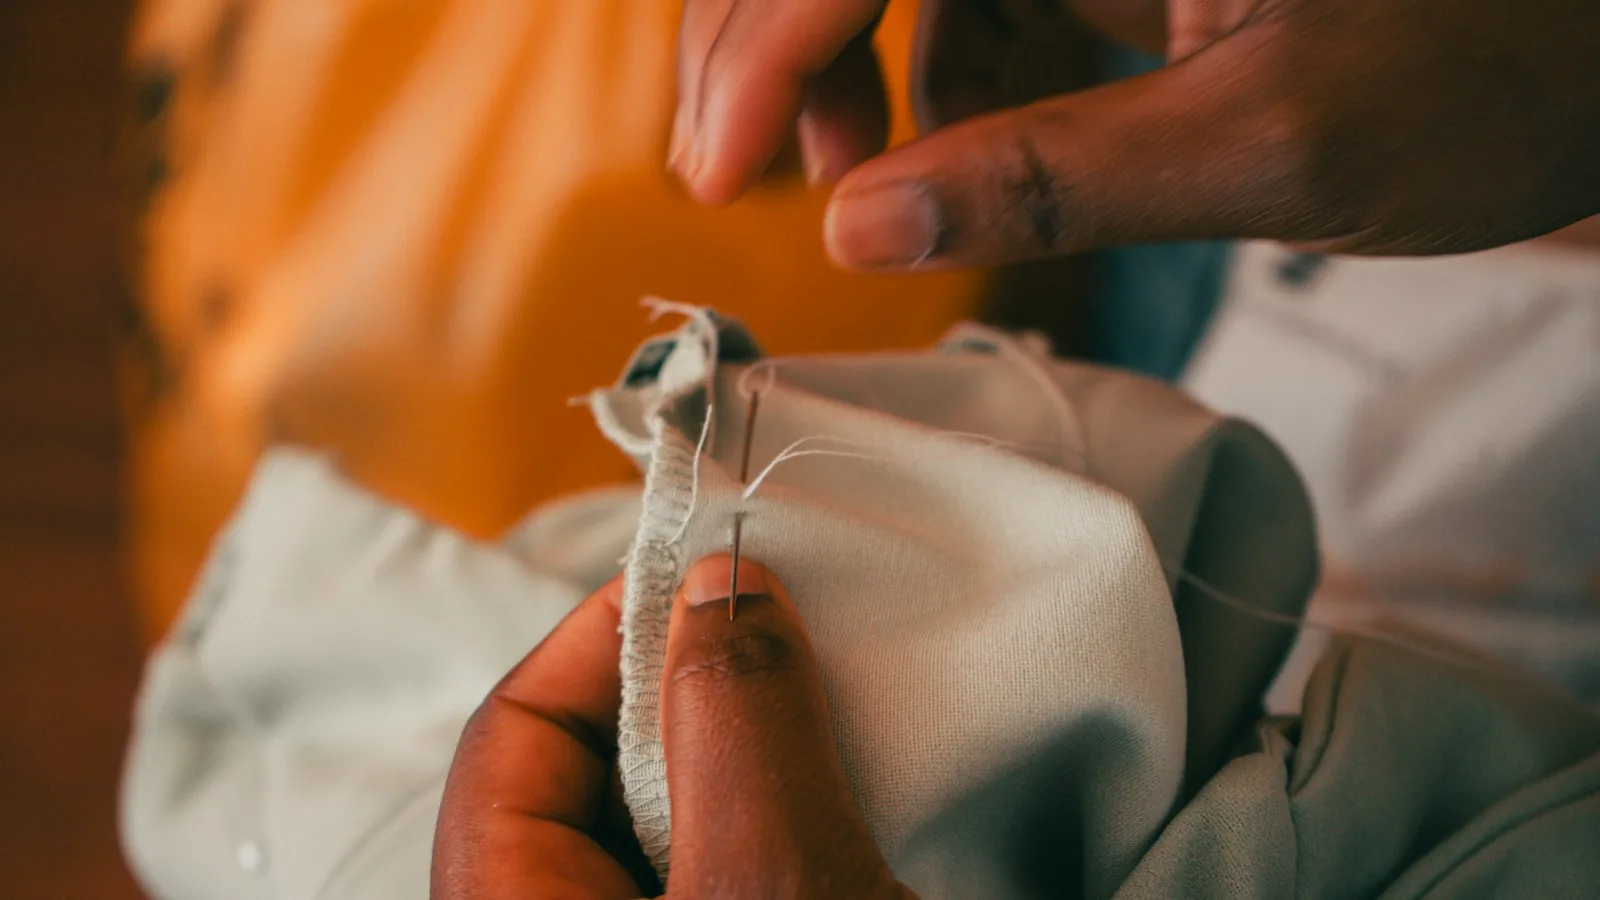
Keep stitches controlled and avoid gathering the cloth. Check the reverse side as you work so that you do not catch an unintended layer or lining. Secure the thread according to the method you are following. If the surrounding area puckers, undo and adjust rather than assuming wear will flatten it. The repair should respect the garment's relaxed shape.
Test more than the appearance
Fasten and unfasten the button several times without forcing it. Check whether it passes through the hole, whether the overlap lies as intended, and whether the thread or knot feels uncomfortable against the body. Put the garment on if that is how it will be used. A fastening can look correct while creating a pull that only appears during movement.
If the cloth around the stitches starts to distort, stop using the repair until you understand the cause. It may need reinforcement, a different placement, or professional work. This is distinct from merely adding more thread. A thicker cluster in weakened cloth can make the area less flexible without solving the underlying problem. Ask for material-specific help when the structure is uncertain.
Keep a useful record
Note the replacement button's size and where the spare is stored. Recheck the attachment after ordinary use and laundering according to the garment's existing instructions. Repair is a continuing relationship with an object, not a guarantee that it cannot fail again. When done thoughtfully, this small task returns a useful garment to circulation and makes the next loose fastening less mysterious. The quiet satisfaction comes from understanding the job well enough to know what finished should mean.
Sources & further reading
Background sources for the factual guidance in this story. Suggested exercises and arrangements are editorial interpretations.