A small hand-stitch sampler
Use a scrap of cloth to learn how tension and spacing change a line.
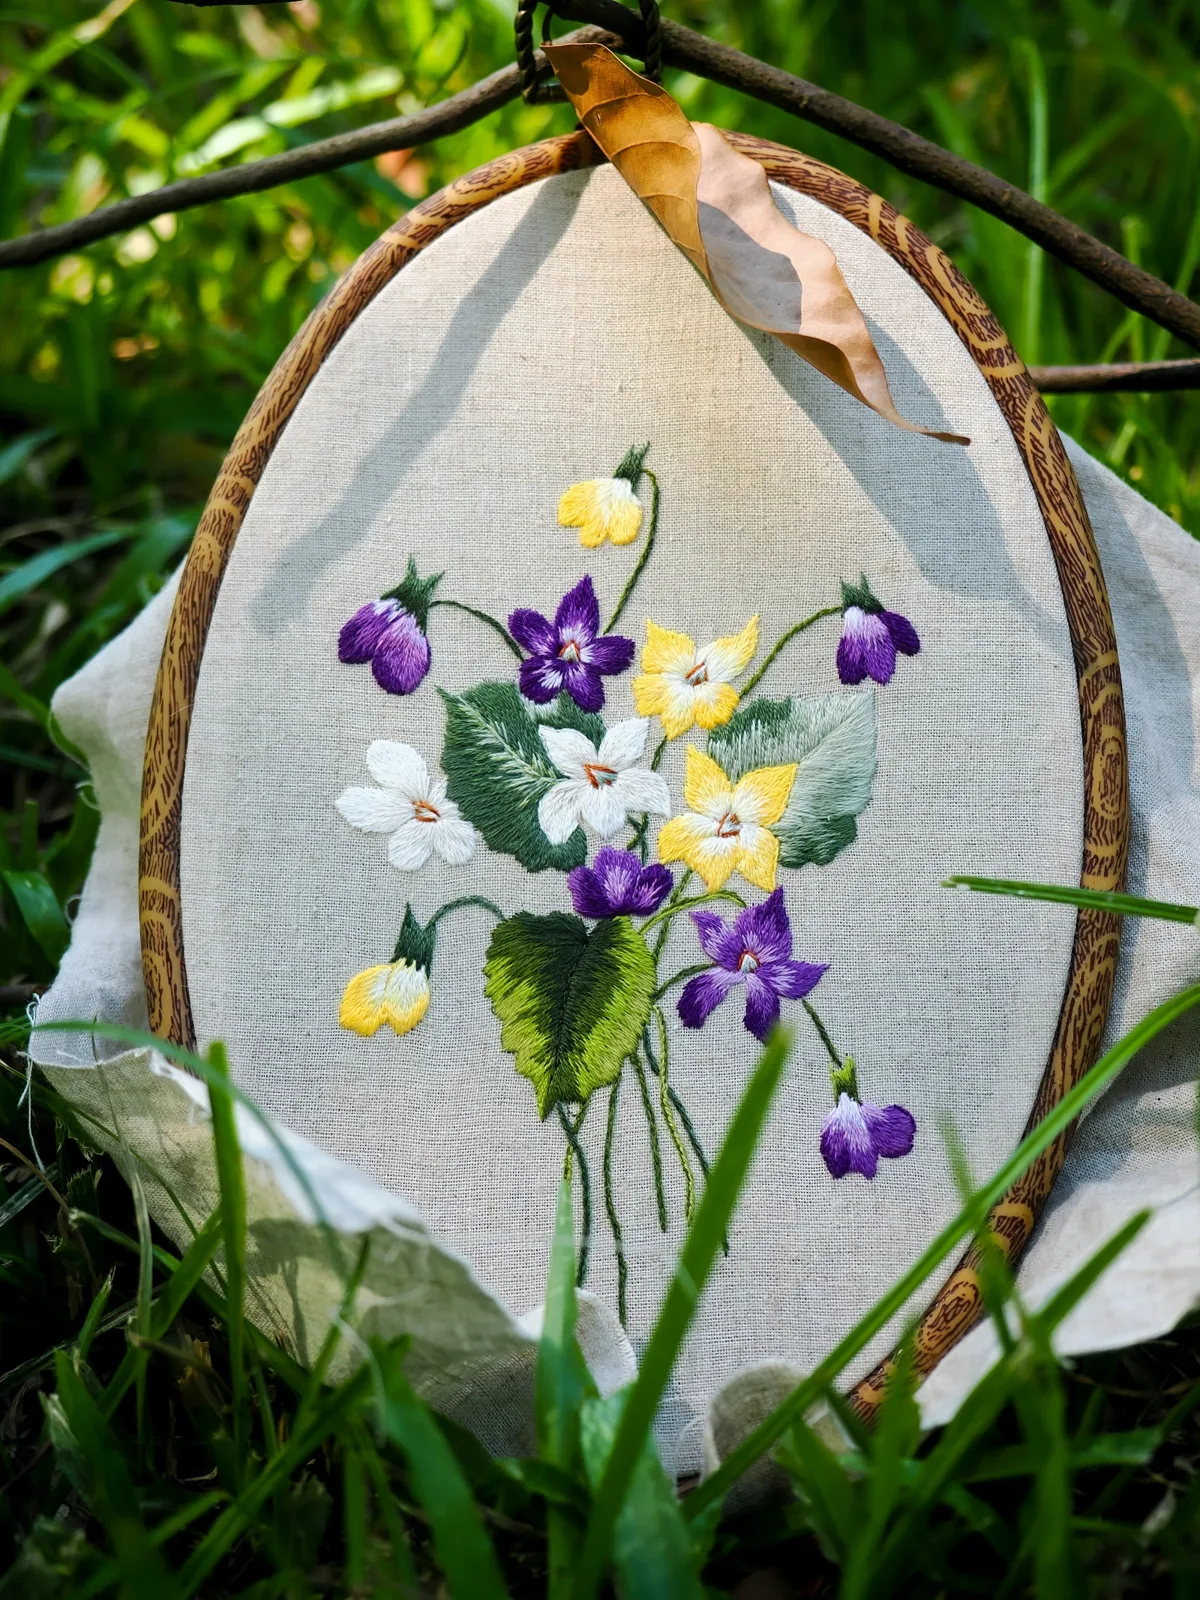
A scrap of cloth is a forgiving place to learn what a needle and thread do together. Without a garment waiting to be rescued, you can notice tension, spacing, and the way the fabric responds to your hands. A small sampler does not have to become a decorative object. It can remain a working record of several short experiments, with uneven lines left visible. Choose plain, sound woven fabric and ordinary materials you can comfortably handle. Keep valuable or fragile textiles outside this first exercise.
Set a modest boundary
Cut or choose a piece large enough to hold without crowding your fingers, but small enough that a few lines will fill it. If the edge frays readily, allow enough spare material that the practice area remains stable. The aim is to study stitches, not produce a finished household textile. You can use a scrap already available rather than buying a kit with more materials than the exercise needs.
The V&A's practical sewing resources show how care and repair can begin with small tasks. A sampler prepares for those tasks by isolating one variable at a time. Write down the fabric and thread you have chosen. If composition is unknown, say so. An accurate record of an ordinary scrap is more useful than a confident but unsupported label.
Try one line before choosing a design
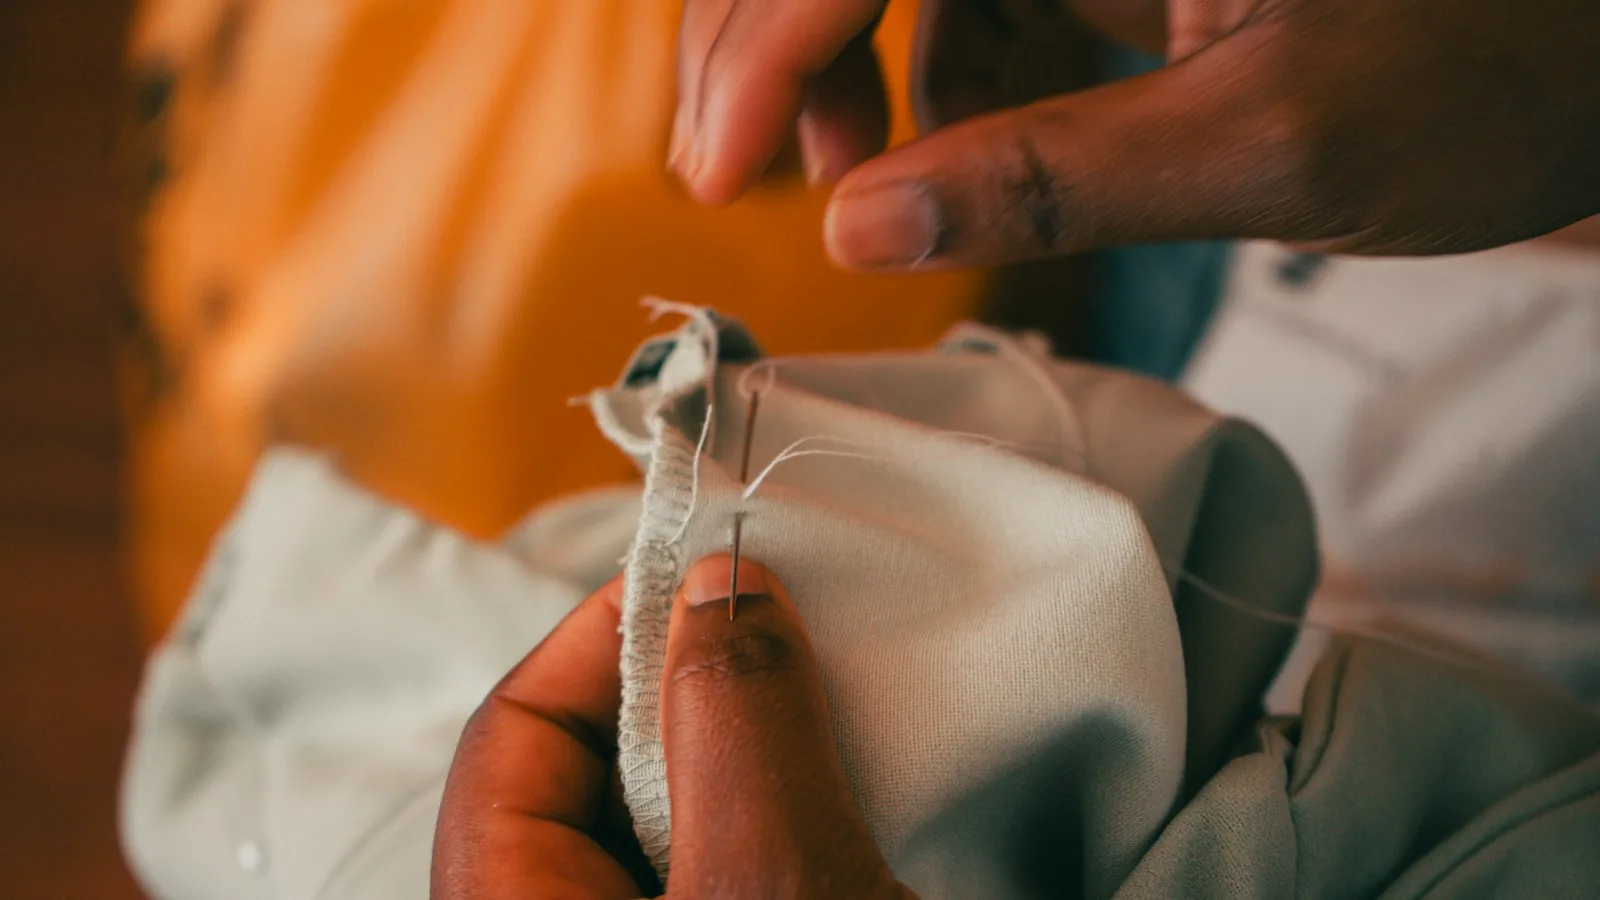
Thread a suitable hand needle and use a manageable length of thread. Begin with a short running-stitch line, bringing the needle up and down through the cloth at intervals you can control. Do not worry about perfect regularity. Set the cloth down after several stitches and look at how it lies. The surface tells you something your hands may not yet notice.
If the line gathers the cloth, the thread may be too tight. If large loops remain, it may be too loose or caught. Adjust the next few stitches rather than pulling forcefully at the whole line. A sampler is useful precisely because you can leave the first attempt intact and compare it with another. Undoing every imperfect stitch can erase the evidence you are trying to learn from.
Change only one thing at a time
Make a second line with similar spacing but a lighter pull on the thread. Then try a line with shorter stitches or longer gaps. Label the difference beside the sample on paper, not necessarily on the fabric itself. With only one variable changed, it is easier to understand why the result differs. An elaborate decorative pattern can hide this basic relationship beneath too many simultaneous decisions.
Look at both sides. A tidy front does not tell the whole story if the reverse is tangled or pulls the cloth unevenly. The same principle matters later in a garment repair. You are learning how an action travels through layers, rather than simply drawing a line on the surface. Keep the cloth in a relaxed position while assessing it.
Test a second layer
Place a compatible scrap behind part of the first piece and repeat a short line. Notice whether the needle still moves comfortably and whether the layers stay flat. A combination that worked on one layer may feel different on two. Do not force a fine needle through an unsuitable thickness. Try an appropriate tool or reduce the layers instead.
This small comparison can help prepare for a patch, but it does not prove that a particular repair will hold under use. A garment's worn area, movement, and washing requirements add questions the sampler does not reproduce. Keep the exercise separate from a structural claim. A successful sample means the materials cooperated in that limited test, not that every damaged textile is now suitable for the same method.
Learn the names without flattening traditions
If you become interested in a particular stitch or cultural practice, use sources that explain its context and technique. A generic running stitch should not automatically be labeled with the name of a specific tradition. The V&A's wider textile and craft interpretation can provide a starting point for further study. Technique names are useful when they help you find reliable instruction, rather than make a simple sample sound more accomplished.
The Canadian Conservation Institute's guidance is aimed at preserving textiles and emphasizes the vulnerability of material. It marks an important boundary for a beginner: practicing on an ordinary scrap is different from intervening in a historic or cherished cloth. If an object matters because of its age or provenance, seek appropriate advice before adding stitches.
Keep the sample as information
Attach a loose paper note or store the cloth beside its record, avoiding a fastener that damages it. Note the needle, thread, layers, and the line you found easiest to control. Put sharp tools away securely and check the work area before leaving it. A sampler can be finished while still looking tentative. Its value is the small, visible account of how your choices changed the cloth, and the clearer question it gives you for the next session.
Sources & further reading
Background sources for the factual guidance in this story. Suggested exercises and arrangements are editorial interpretations.