A first visible mend
Plan a modest patch on an everyday textile before reaching for the needle.
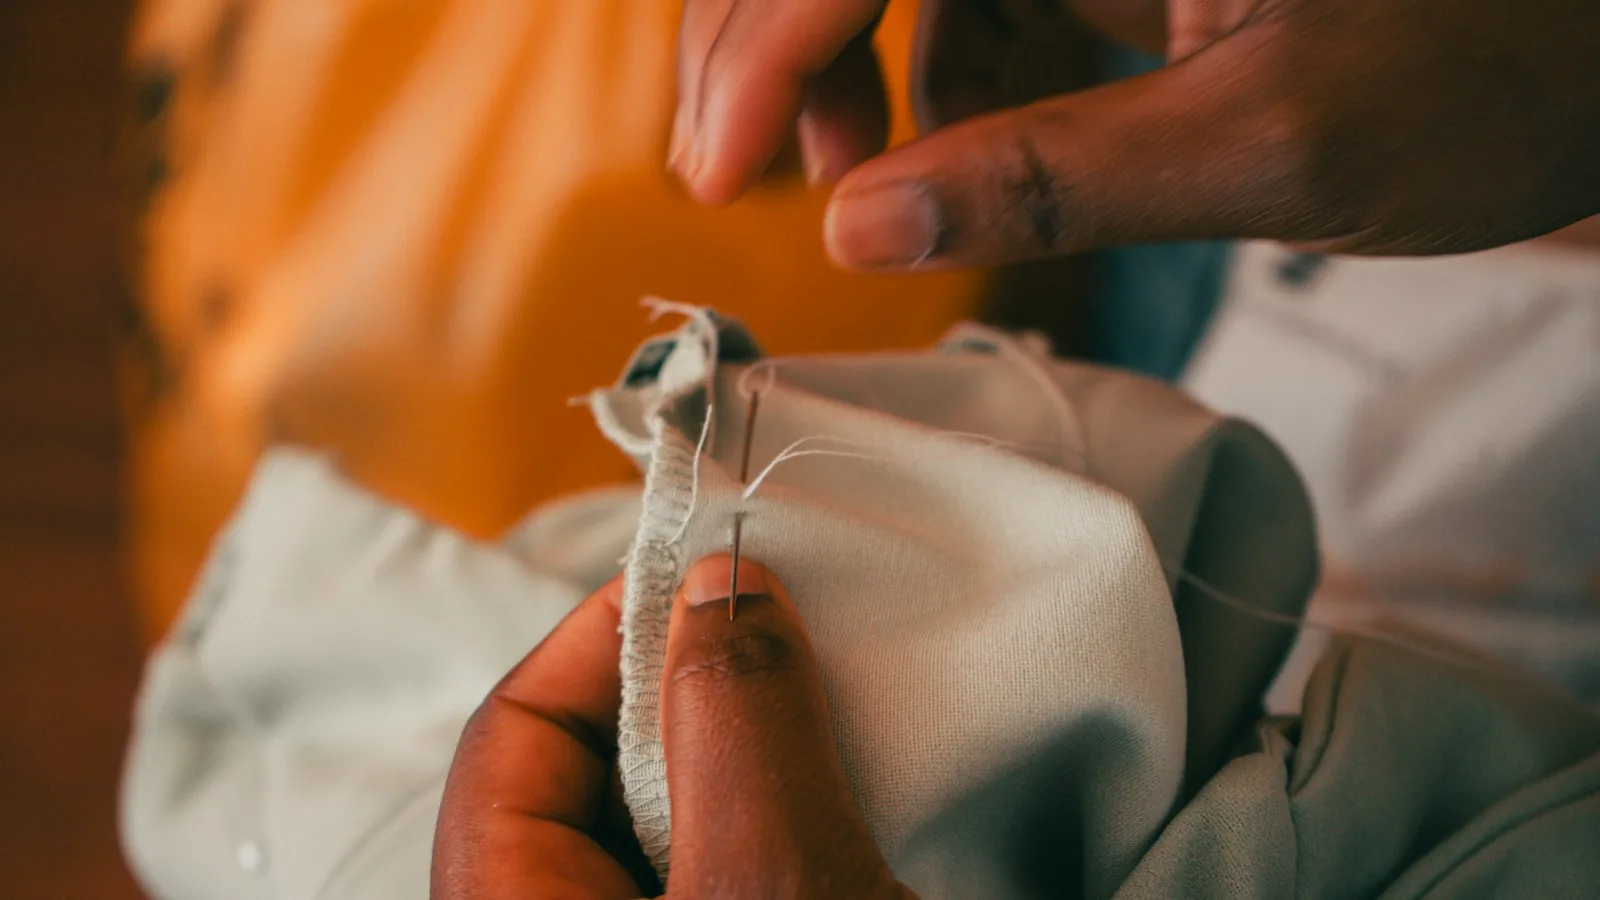
A worn patch of cloth can be an invitation to look closely before deciding what to discard. On an everyday woven garment, a small visible repair may return a useful object to service while making its history a little more legible. The first decision is not the thread color. It is whether the fabric can support the repair you are imagining. Begin with an ordinary piece you can afford to practice on, and keep valuable, fragile, or historically significant textiles out of the experiment.
Read the worn area
Lay the clean, dry textile on a table and examine both sides in good light. Is there a clean tear, a missing section, or a larger area that has become thin? Look beyond the obvious opening. A patch stitched only into weakened fibers may pull away around its edges. Hold the area gently without stretching it and mark the extent of sound cloth in your mind before choosing the size of your repair.
Check how the garment moves in use. An elbow, pocket corner, and loose shirt hem place different demands on fabric. A stiff patch in a flexible area may feel uncomfortable even if it looks tidy on the table. If the material stretches, has a complex lining, or carries a structural load, a beginner's woven-cloth patch may be the wrong method. A repair service or a more specific sewing guide may be a better next step.
Choose compatible cloth
Look among clean offcuts before buying fabric. Compare weight, flexibility, and washing requirements with the item being repaired. The colors need not match, but the materials should be able to live together. Wash and dry a new scrap according to its care information before using it, especially when shrinkage or dye transfer is uncertain. Test questionable color on a separate scrap rather than trusting an attractive appearance.
Decide whether the patch will sit behind the worn area or visibly on top. A backing patch can preserve the outline of a small hole; an outer patch can cover an irregular damaged section. Either needs enough overlap to anchor in stronger cloth. There is no universal margin that suits every fabric. Place the scrap against the damage and check the surrounding area again rather than following a decorative shape at the expense of support.
Practice the relationship between cloth and thread
The V&A Dundee's Sewing Box for the Future separates care, repair, and customization, a helpful reminder that an attractive finish is only one part of the task. Before sewing the garment, use spare layers to try your needle and thread. A very thick thread may be difficult to pull through tightly woven cloth. A fine needle can bend if forced. Change the combination when it feels unsuitable instead of working harder against it.
Make a short line of running stitches on the test piece. Pull just enough to bring the layers together without gathering them. Set it down and look at the surface. If it puckers, loosen the tension or reduce the number of layers. A first sample does not have to look regular; it needs to show whether your chosen materials cooperate. This is a generic stitching exercise, not a claim to reproduce a particular cultural repair tradition.
Secure the patch without distorting it
Arrange the garment in its relaxed shape. Keep the patch flat and temporarily hold it with suitable basting stitches or carefully placed pins, removing pins as you work. Make sure you have not caught a pocket lining or the opposite side of a sleeve. Work in a direction that lets you see the layers and check the underside frequently. Stop if the fabric begins to pull out of shape.
Anchor the repair into sound fabric around the worn area. Avoid a dense cluster of stitches that turns a soft cloth into a hard plate. Thread ends should be secure and comfortable against the skin. Keep scissors and needles in a defined place, count them when finishing, and return them to closed storage. These unglamorous details make a home repair session easier to repeat around other people.
Evaluate it in use
Try the item on or handle it in the way it is normally used. Bend the repaired area gently and check for catching, pulling, scratchy ends, and restricted movement. A visible patch is not a guarantee that the damage has stopped spreading. Revisit the repair after ordinary use and laundering, following the garment's existing care requirements. If the surrounding fabric continues to fail, a larger intervention or a different use for the cloth may be more sensible.
The Canadian Conservation Institute's textile guidance addresses supporting fragile material rather than everyday garment sewing. Its relevance here is the boundary: old or delicate pieces deserve assessment before intervention. Do not use a practice repair to experiment on an heirloom. For an everyday item, a brief note about the scrap, thread, and result is enough. What matters is a comfortable, usable object and a clearer understanding of how its material behaves.
Sources & further reading
Background sources for the factual guidance in this story. Suggested exercises and arrangements are editorial interpretations.