Drawing an ordinary cup
A looking exercise in shape, proportion, and the space around a familiar object.
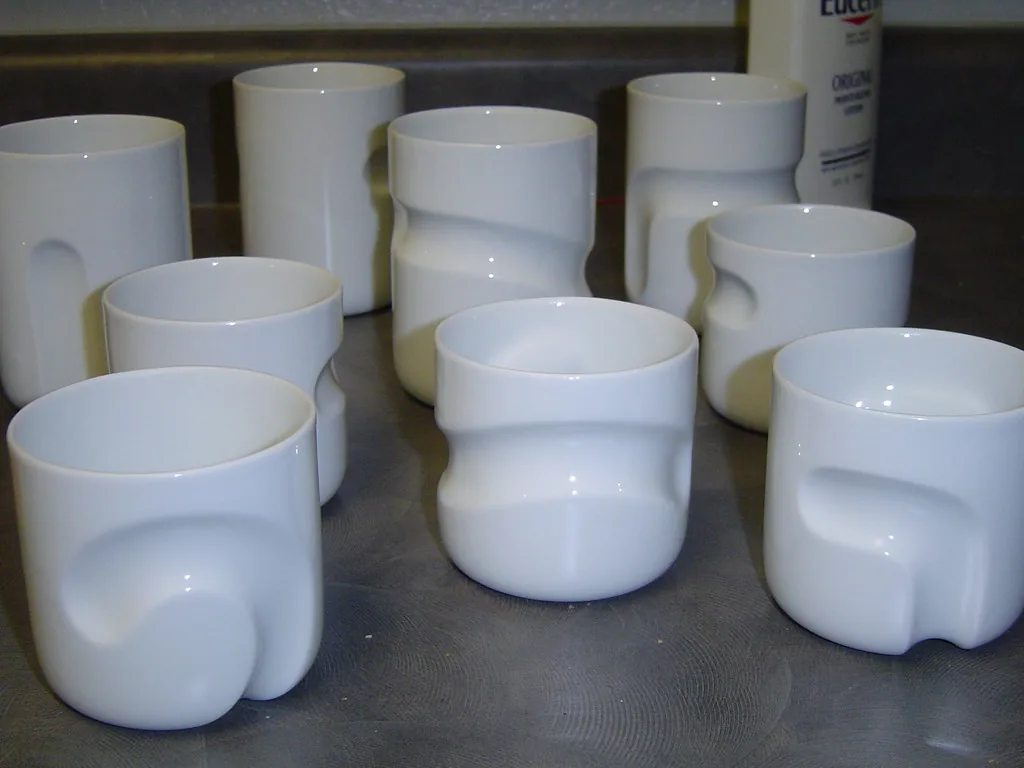
An ordinary cup offers more to draw than its familiar outline suggests. The rim changes shape when you move your head; the handle encloses a small piece of background; a shadow describes the surface beneath it. You do not need a special still life or an impressive result to begin. Choose a stable, empty cup, a pencil, and paper you are comfortable using. The exercise is a way of looking carefully at one object, with the drawing serving as a record of the decisions your eyes and hand make together.
Fix the view before making a mark
Place the cup where it will remain still and sit comfortably enough to keep roughly the same viewpoint. Look at how much of the inside you can see. If you stand up or lean far to one side, that relationship changes. A drawing can become confusing when several viewpoints quietly enter it. You do not need perfect stillness, but knowing where you began helps explain why a shape seems different later.
The National Gallery of Art's everyday-object drawing lesson explores several kinds of mark-making using familiar objects. Its useful invitation is to work with what is available and compare approaches. Your cup does not need to be unusual. A plain surface may make it easier to notice the relationship between the rim, body, handle, and shadow without a busy pattern competing for attention.
Set the overall proportions lightly
Look at the height and width of the whole cup, including the handle. Make a few light marks to indicate the space it will occupy on the page. Leave enough room around it that the handle does not run unexpectedly off the edge. These first marks are estimates you can revise. Avoid pressing hard simply because the drawing feels uncertain; a heavy early outline can become difficult to adjust.
Compare the body with the handle opening. Is the handle taller than you first imagined? Where does its top meet the cup? A familiar object can tempt you to draw a symbol from memory instead of the particular shape in front of you. Keep returning your eyes to the object. The useful question is not what a cup usually looks like, but what this one looks like from here.
Study the rim as a shape
The opening often appears as an ellipse rather than a circle from a seated angle. Observe how wide and shallow it looks in your chosen view. Draw it lightly and check whether the sides connect plausibly to the body below. There is no need to calculate the geometry for this exercise. A careful comparison can tell you whether the opening has become much deeper or narrower than the one you see.
Notice the near and far edges separately. A dark interior, a thick lip, or a change in light can make one edge more visible than another. Do not outline everything with equal weight automatically. The National Gallery's lesson distinguishes line qualities and pressure; you can use a lighter mark where an edge is quiet and a firmer one where the contrast is clear.
Draw the space inside the handle
Look at the small area of background enclosed by the handle. Sketching that negative space can reveal a proportion error in the handle itself. Compare its height, width, and tilt with the cup's body. You are not adding a decorative loop to a finished symbol. You are recording another shape that shares boundaries with the rest of the object.
The Horniman Museum's observation resource encourages examining familiar objects from a new angle. If you want a second study, move the cup after finishing the first outline and begin a separate drawing. Keep the two views distinct. Comparing them can show how much the same object changes without requiring a more elaborate subject or a more expensive set of materials.
Add only enough tone to explain the form
Find the lightest area, the darkest area, and the cast shadow. Use simple hatching or another mark you can control to suggest their relationship. Avoid rubbing the whole page into a uniform gray. Leave some paper untouched where it represents light, and compare the shadow's direction with the cup's position. If the daylight changes significantly, note that instead of trying to reconcile every stage in one drawing.
You do not need to fill every surface or reproduce every reflection. A few selected marks may explain more than an even layer of detail. When an area becomes confusing, return to shape and proportion before adding darker tone. More marks do not necessarily solve an inaccurate relationship. A fresh small study can be more useful than repeatedly correcting the same crowded page.
Keep the drawing as an observation
Date the page and add one sentence about what you noticed: the rim was shallower than expected, or the handle leaned farther out. Do not judge the entire exercise by resemblance alone. The page can record a useful discovery even if it remains visibly tentative. Put the cup back into use, and keep the drawing as evidence of one careful encounter with an object you would otherwise have passed over.
Sources & further reading
Background sources for the factual guidance in this story. Suggested exercises and arrangements are editorial interpretations.